Your cart is currently empty!
Guide On Cleaning Your Customized Sneakers | Shoe Care Tips
Introduction
Hand-painted sneakers have become increasingly popular in recent years, with many people opting for customized designs that showcase their unique style. We ourself specialize in creating customized sneakers, which you can check on our Sneakers & Slides page. However, these one-of-a-kind creations require special care to maintain their vibrant colors and intricate details. In this step-by-step guide, we will walk you through the process of properly caring for your customized sneakers, ensuring they stay looking fresh and vibrant for years to come.
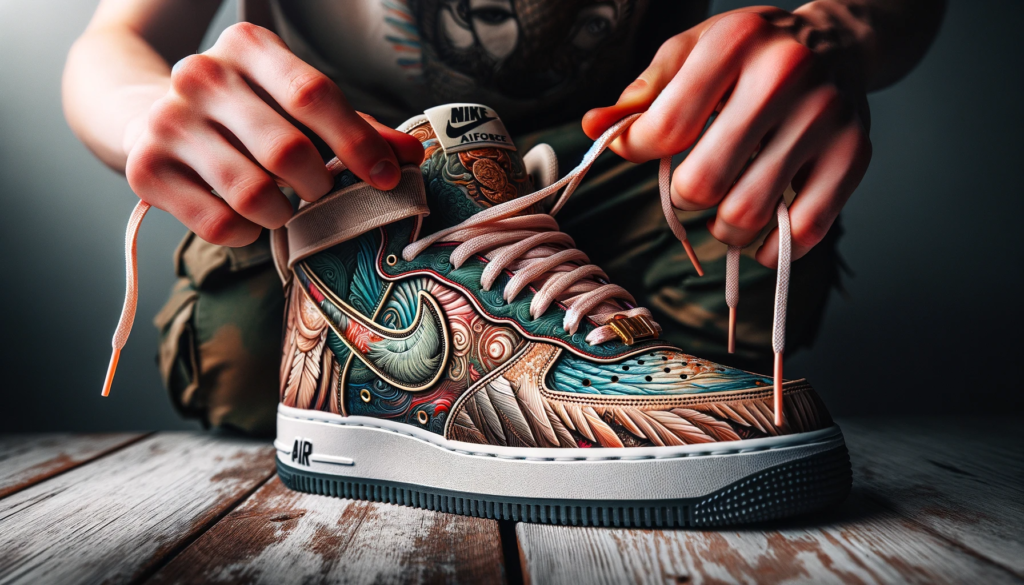
Step 1: Preparing Your Customized Sneakers
Before you begin cleaning your customized sneakers, it’s important to prepare them properly. Start by removing the shoelaces and any inserts or insoles from the shoes. This will make it easier to clean the entire surface of the sneakers and prevent any damage to these removable parts.
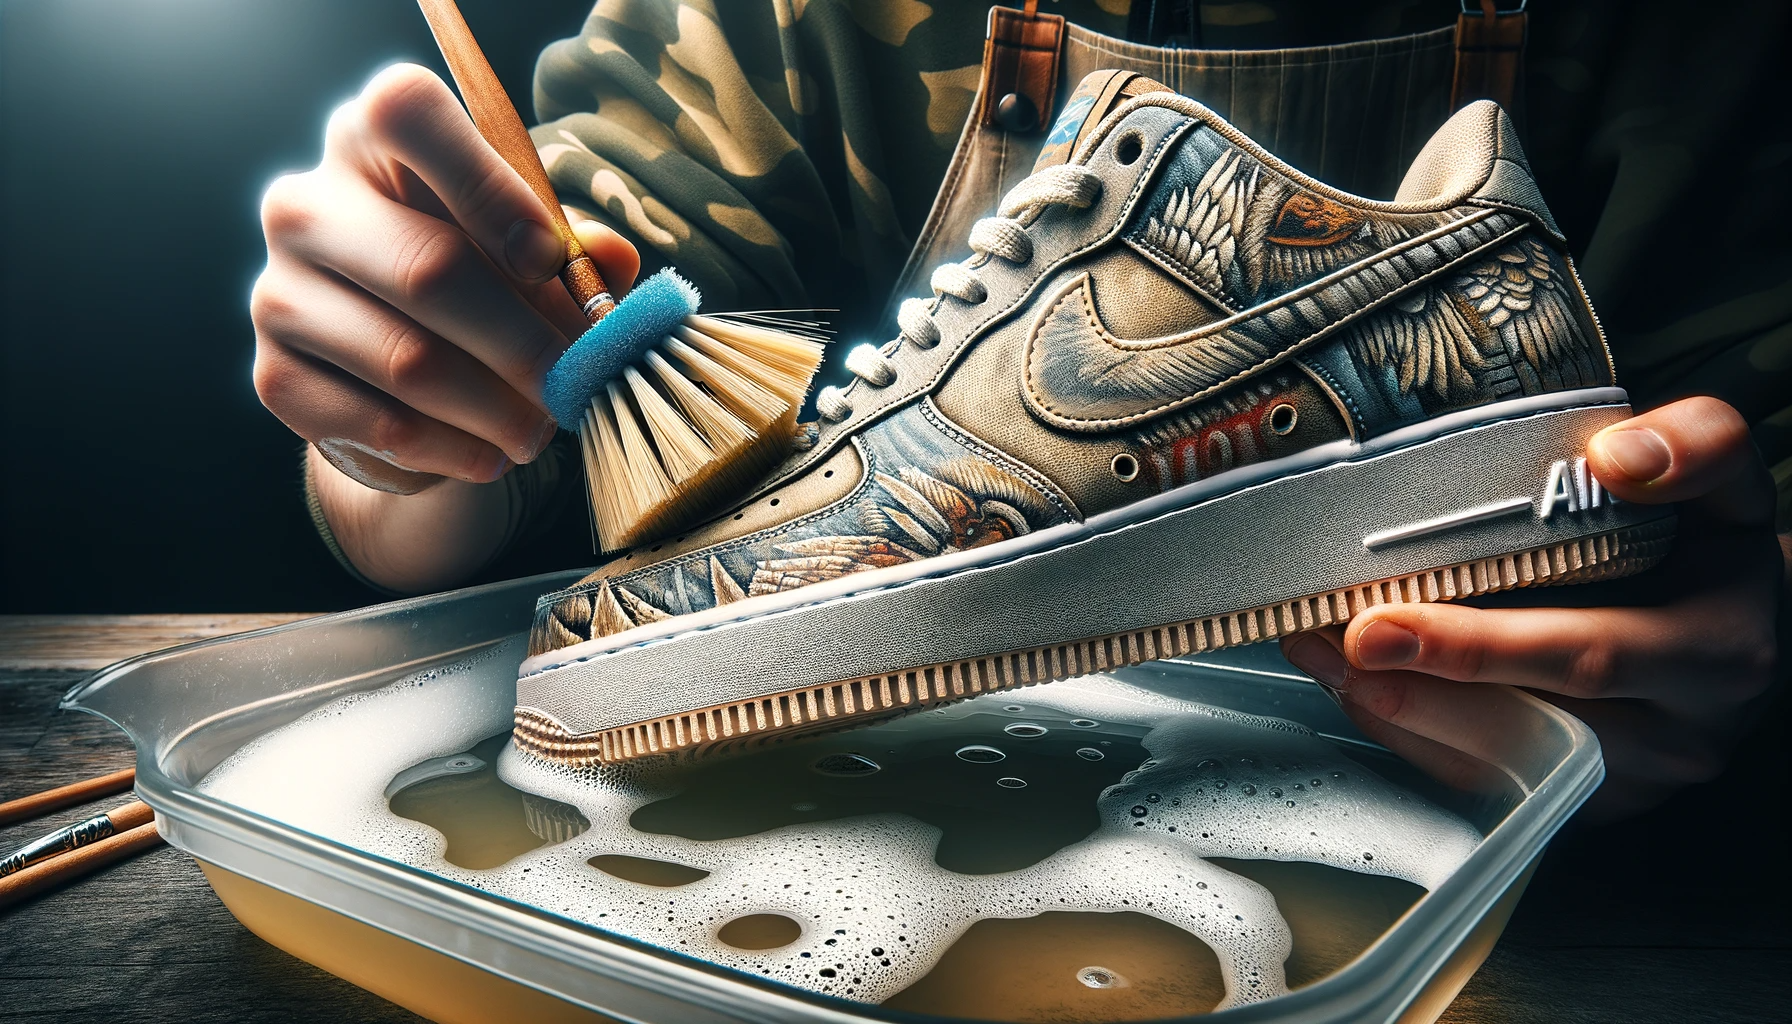
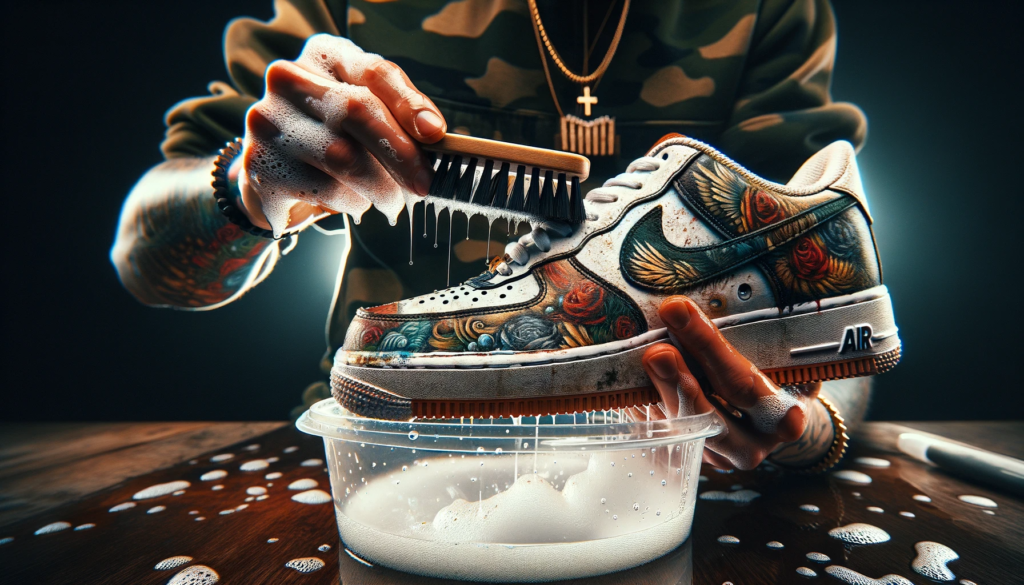
Step 2: Spot Cleaning
If your hand-painted sneakers have any visible stains or dirt, it’s best to start by spot cleaning them. Use a soft-bristled brush or toothbrush to gently scrub the affected areas with a mixture of mild soap and warm water. Avoid using harsh chemicals or abrasive cleaners, as these can potentially damage the paint or materials of the sneakers.
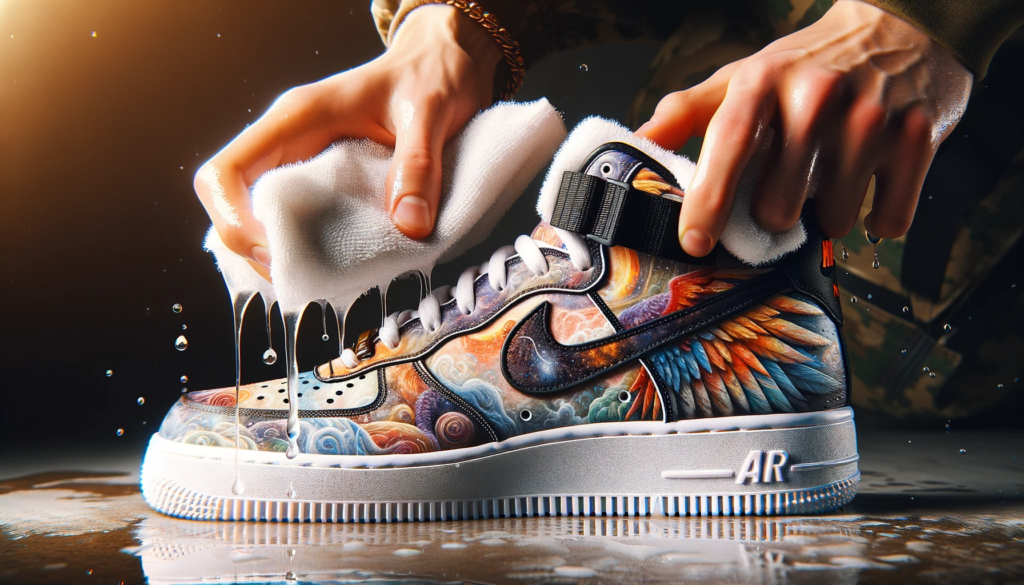
Step 3: Cleaning the Entire Surface
Once you have spot cleaned any stains, it’s time to clean the entire surface of your customized sneakers. Fill a basin or sink with warm water and add a small amount of mild detergent. Gently agitate the water to create suds. Dip a soft cloth or sponge into the soapy water and wring out any excess moisture. Use the damp cloth or sponge to wipe down the entire surface of the sneakers, paying extra attention to any areas with visible dirt or stains. Rinse the cloth or sponge frequently to avoid spreading dirt or soap residue.
Step 4: Drying Your Sneakers
After cleaning, it’s important to dry your sneakers properly to prevent any damage or discoloration. Avoid using direct heat sources such as hairdryers or heaters, as these can cause the paint to crack or fade. Instead, stuff the sneakers with clean, dry paper towels or newspaper to help absorb moisture. Place them in a well-ventilated area and allow them to air dry naturally. This process may take several hours, so be patient and avoid wearing them until they are completely dry.
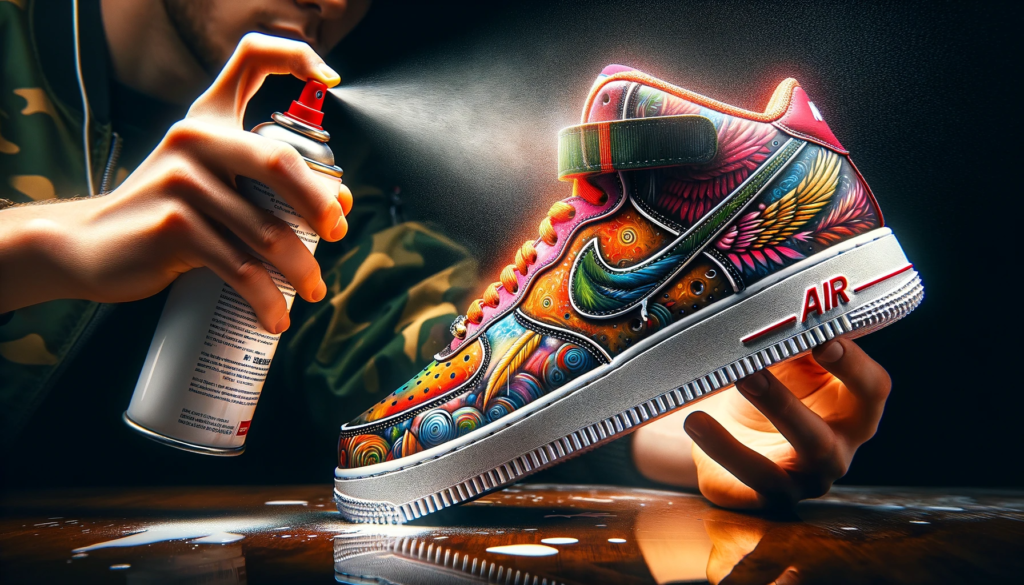
Step 5: Protecting the Paint
To ensure the longevity of the paint on your custom sneakers, it’s important to protect them from potential damage. Apply a waterproof spray or sneaker protector specifically designed for use on painted surfaces. This will create a protective barrier that helps repel water, dirt, and stains. Be sure to follow the instructions on the product carefully and reapply as needed, especially if you frequently wear your sneakers in wet or dirty conditions.
Step 6: Regular Maintenance of Custom Sneakers
Proper maintenance is the key to keep your custom sneakers look their best. Regularly inspect them for any signs of wear or damage, such as peeling or cracking paint. If you notice any issues, it’s best to address them immediately to prevent further damage or just buy a pair of waterproof silicon covers for your sneakers as a protective measure if going to a muddy area. Additionally, avoid exposing your sneakers to extreme temperatures or prolonged sunlight, as these can cause the paint to fade or deteriorate over time.
Conclusion
With proper care and maintenance, your hand-painted sneakers can continue to be a stylish and unique addition to your wardrobe. By following this step-by-step guide, you can ensure that your customized sneakers stay looking fresh and vibrant for years to come. Remember to spot clean, clean the entire surface, and protect the paint, and you’ll be able to enjoy your hand-painted sneakers for many adventures ahead.
by
Tags:
Leave a Reply